Lipoxin A4 ELISA Kit
96 well
SKU No. 407010 | Catalog No.
- Highly sensitive
- Results in less than two hours
- Accurate and easy to use
| Specifications | ||
|---|---|---|
| Brand | Neogen® | |
| Analyte | Lipoxin A4 | |
| Application | Urine, Oral Fluid, Tissue Culture Supernatant, Plasma, Serum | |
| Assay Range | 0.02 - 2 ng/mL | |
| Intended Use | For the determination of Lipoxin A4 in urine, oral fluid, tissue culture supernatant, plasma, or serum samples. Contact a Neogen representative for information on other matrices. | |
| Species | Non-Species Specific | |
| Assay Sample Size | 50 µL | |
| Platform | ELISA | |
| Result Type | Quantitative | |
| Microplate Size | 96 well microplate | |
| Total Assay Incubation Time | 90 minutes | |
| Drug Panel | Specialty | |
| Storage Conditions |
-20°C for lyophilized conjugate, 2-8°C for all other kit components |
|
| Wavelength | 650 nm or 450 nm with acid stop | |
| Package Weight | 0.70 lb | |
Cross Reactivity
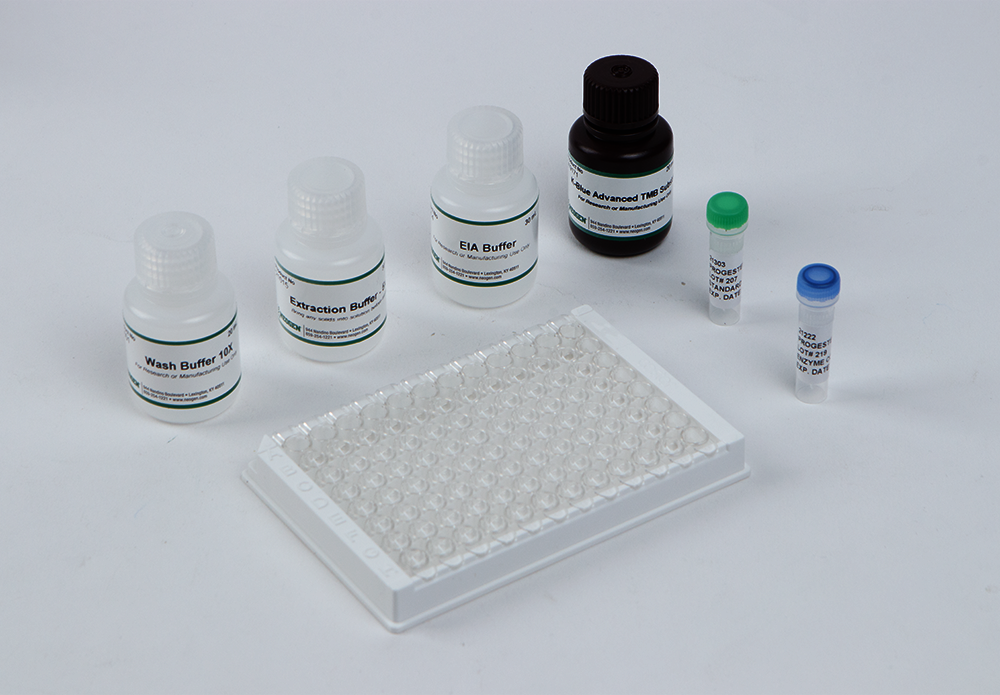
Materials Provided
Materials Required But Not Provided
Additional Information
Calculation of Results
Neogen has partnered with MyAssays.com to provide an online tool for data calculations.
Follow the simple step-by-step guide to generate your data.
MyAssays.com is a service of MyAssays Ltd. For questions or concerns about the service, please contact MyAssays Ltd.
Documents
To access certificates, please use our technical document search page.
Insert
Safety Data Sheet (SDS)
Technology
The sample or standard solution is first added to the microplate. Next, the diluted enzyme conjugate is added, and the mixture is shaken and incubated at room temperature for one hour. During the incubation, competition for binding sites is taking place. The plate is then washed removing all the unbound material. The bound enzyme conjugate is detected by the addition of substrate which generates an optimal color after 30 minutes. Quantitative test results may be obtained by measuring and comparing the absorbance reading of the wells of the samples against the standards with a microplate reader at 650 nm. The extent of color development is inversely proportional to the amount of Lipoxin A4 in the sample or standard. For example, the absence of Lipoxin A4 in the sample will result in a bright blue color, whereas the presence of Lipoxin A4 will result in decreased or no color development.

Training
Our customers’ success is our shared success. Our experts are ready to train you and your team on our solutions, so you can rest easy knowing procedures are performed properly and yield accurate results. In addition, we provide certificates upon completion of training.