NeoCenter
ATP and Protein-Based Testing for Hygiene Monitoring
March 19, 2026
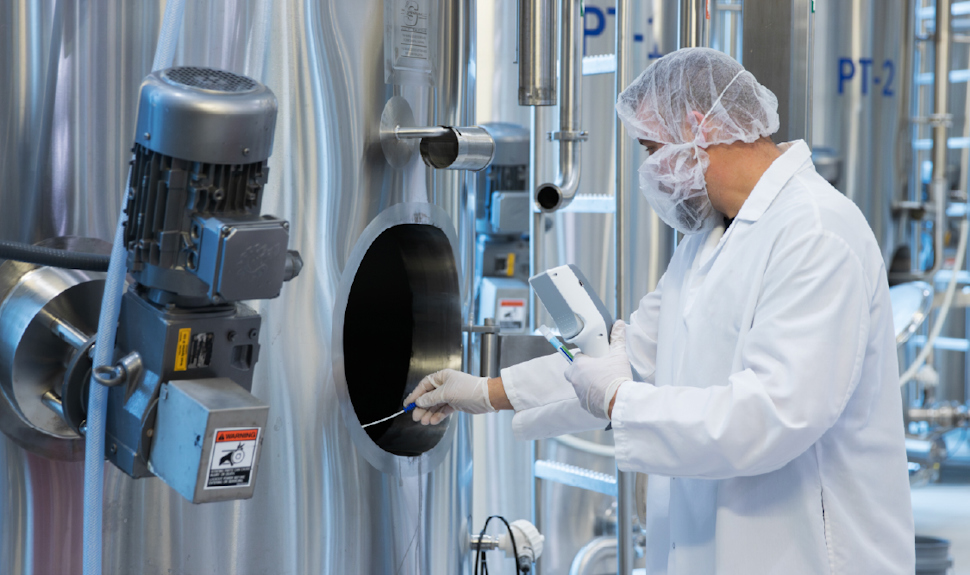
A robust food safety program starts with effective sanitation. That’s why hygiene monitoring plays a significant role in verifying the hygienic status and cleanliness of equipment and surfaces before food processing or preparation begins. Hygiene testing commonly uses one of two recognized methods: Adenosine Triphosphate (ATP) testing or protein-based testing, which food and beverage processing facilities may choose as a substitute for ATP.
Both ATP and protein-based technologies are rapid, simple-to-use methods that provide a measurable, objective assessment of cleanliness. That’s important because removing organic matter reduces the opportunity for bacteria and mold to multiply, lowering microbial risk in the processing environment. That’s what makes these test methods valuable tools in an environmental monitoring program that supports your facility’s overall sanitary status and helps reduce risk.
To understand how these methods work, let’s take a closer look at the principles behind ATP and protein-based hygiene testing.
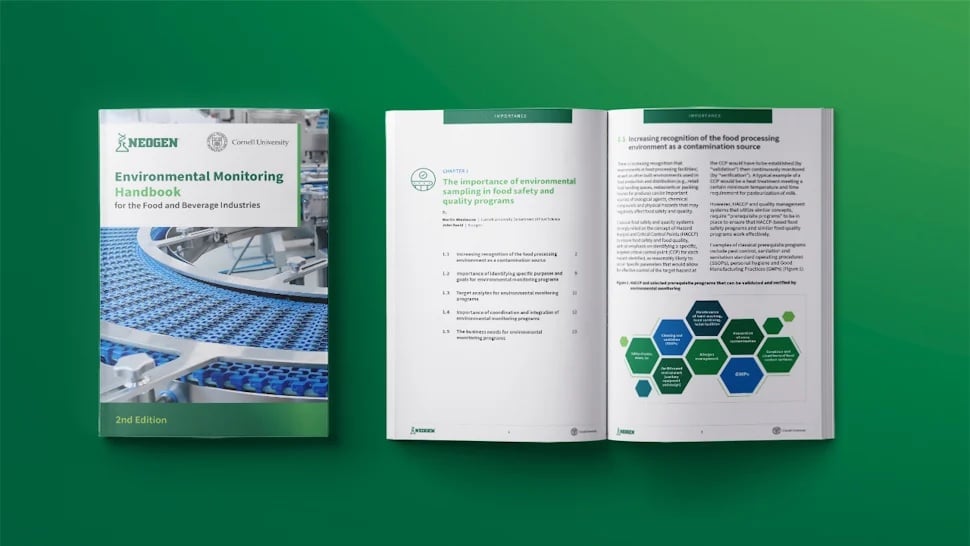
Download the Neogen Environmental Monitoring Handbook for the Food and Beverage Industries (2nd Edition, 2025) for additional insights on hygiene monitoring in your facility.
Principles of ATP and Protein-Based Testing

ATP and protein-based hygiene testing methods help your team verify that cleaning is effectively removing organic matter from food contact surfaces and equipment. ATP is an energy-carrying molecule found in all living cells. ATP testing uses the energy in this molecule along with an enzyme complex to produce light. Testing involves a swab for sampling surfaces and a handheld luminometer. For facilities using clean-in-place systems, water ATP testing devices are also available. The test expresses results as Relative Light Units (RLUs), which correlate to the amount of total organic matter on surfaces. Your team can trend these numeric results over time.
Protein-based tests are a color-based alternative to ATP testing. They provide a qualitative or semi-quantitative indication of cleanliness by detecting protein residue. The depth of color reflects the level of protein present, although the source, such as microbial or food-related, cannot be identified. These tests use the Biuret reaction, which results in a color change indicating cleanliness. While they offer fewer trending capabilities and longer times to result compared to ATP tests, they do not require specialized equipment and are temperature stable, making them valuable in settings with limited resources or cold storage.
ATP and protein-based tests each play a different role, but together, they help your team confirm that your cleaning and sanitation procedures worked as intended, reducing the risk of microbial contamination. Both methods have strengths. ATP testing delivers fast, measurable results, making it a good option for routine pre-operational checks. Protein-based testing delivers specificity, allowing your team to visually interpret results without specialized equipment. Many facilities choose to use both methods to monitor different types of risks across different zones and equipment.
With a solid understanding of each method, the next step is to learn how to develop a program tailored to your facility’s specific needs.
Developing an ATP or Protein-Based Testing Program for Environmental Monitoring
Figure 1. Framework to implement ATP or protein testing program 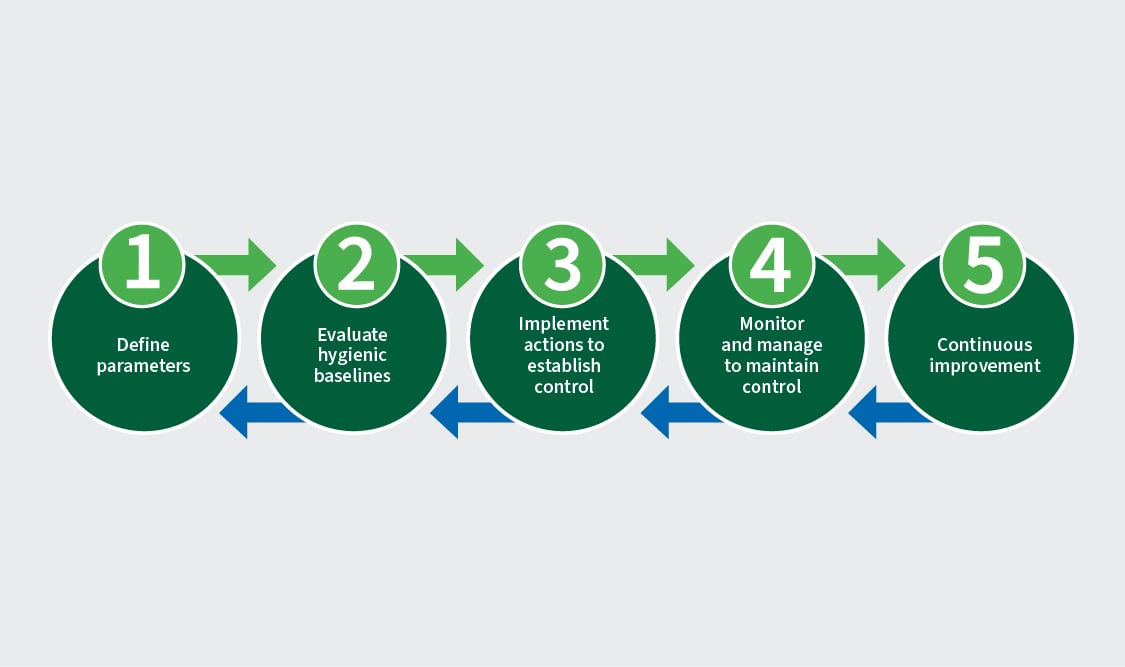
Phase 1: Defining Parameters
Start by identifying which surfaces to monitor. Focus on direct food contact areas and high-risk zones, such as hinges, gaskets, and under equipment. Choose surfaces that are difficult to clean or where residues tend to accumulate. Next, determine how often to test each location. Adjust sampling frequency to reflect the risk level, surface type, and cleaning schedule. Then, establish initial pass/fail limits. For ATP, you’ll set numeric RLU thresholds. For protein tests, you’ll define visual criteria that indicate a failure.
For more details on the three-part steps for selecting sampling sites and determining pass/fail values, download the Neogen Environmental Monitoring Handbook for the Food and Beverage Industries (2nd Edition, 2025).
Phase 2: Assessing Pass/Fail Values
Once initial testing begins, you’ll collect data at a higher frequency to assess whether your pass/fail values are appropriate, tracking which surfaces pass consistently and which fail. If specific locations fail repeatedly, that may signal a need for stricter cleaning or adjusted limits. This phase helps you refine your thresholds so that they accurately reflect the true effectiveness of sanitation rather than arbitrary numbers.
Phase 3: Establishing Control
As your program matures, consistent results help you establish control. Surfaces that pass reliably reinforce that cleaning procedures are working. Areas with repeated failures indicate where corrective action is needed. If most sites pass easily, consider whether your limits are too lenient. Tightening thresholds may help you identify subtle residue issues before they become risks. At this stage, develop clear procedures for corrective action. If a site fails, your team should reclean and retest. Continued failure may require root cause investigation or changes to the sanitation process.
Phase 4: Using Data
Your hygiene monitoring results tell a story. Use them to identify trends, evaluate sanitation performance, and spot recurring issues. If a site fails, follow-up testing should extend to surrounding surfaces or equipment. Using this data helps you determine whether contamination has spread and where to focus cleaning improvements. Data-driven monitoring can be used for training, modifying the use of chemicals and sanitizers, and optimizing cleaning regimens and production run times. Overall, it supports faster response and more substantial confidence in your sanitation program.
Phase 5: Analyzing Overall Program
As you collect more data over time, analyze your program for trends and opportunities. Are certain surfaces struggling? Have improvements stabilized results? Are sampling sites still relevant? This phase helps you maintain hygiene monitoring as a living program—not a one-time setup. Program maturity means being able to spot shifts quickly, adjust proactively, and continuously improve. By putting all five phases into action, you create a program that does more than check a box—it actively supports your food safety goals.
Bringing It All Together
Hygiene monitoring doesn’t replace visual inspection or microbial testing. It complements these methods by offering fast, practical verification that cleaning has worked before product contact occurs. When you build a structured ATP or protein-based monitoring program using the five phases outlined here, you can identify cleaning failures early, implement corrective actions, and reinforce a strong food safety culture.
Want to go further? Download the Neogen Environmental Monitoring Handbook for the Food and Beverage Industries (2nd Edition, 2025) for tools to help you select sampling sites, determine pass/fail values, and follow step-by-step guidance to strengthen your hygiene monitoring strategy.
Have questions about ATP or protein-based testing? Complete the form to get personalized guidance for your sanitation and environmental monitoring program.
Category: Food Safety, Environmental Monitoring, Sanitation & Hygiene, Clean-Trace®